What to Do After Replacing Crankshaft Sensor? (Guide)
Replacing a crankshaft sensor is a crucial step in maintaining your vehicle’s performance and engine health. If you’ve recently replaced this essential component, it’s important to follow certain steps to ensure everything is functioning correctly.
What to Do After Replacing Crankshaft Sensor? In this article, we’ll cover what you need to do after replacing a crankshaft sensor to ensure your vehicle operates smoothly.
Why is the Crankshaft Sensor Important?
Before diving into the post-replacement steps, let’s briefly discuss why the crankshaft sensor is important.
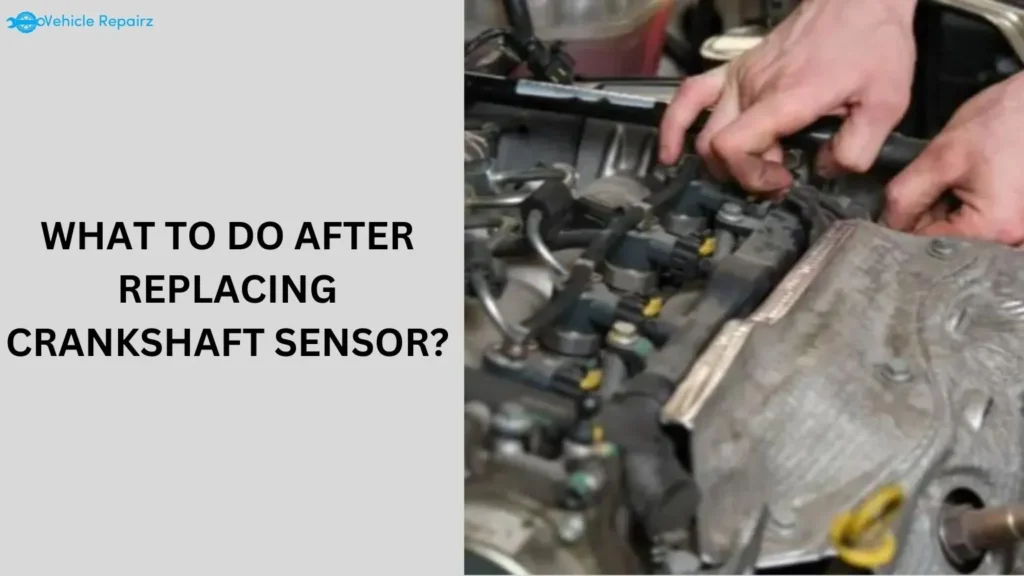
This sensor plays a vital role in your vehicle’s engine management system. It monitors the position and speed of the crankshaft, providing critical data to the engine control unit (ECU).
This information helps the ECU regulate ignition timing and fuel injection, ensuring optimal engine performance and fuel efficiency.
Initial Steps After Replacing the Crankshaft Sensor
Here are the detailed initial steps to take after replacing the crankshaft sensor:
1. Check for Error Codes
After replacing the crankshaft sensor, the first thing you should do is check for any error codes.
Use an OBD-II scanner to ensure there are no residual trouble codes related to the crankshaft sensor or other engine components.
Clearing any codes and performing a reset can help in diagnosing any potential issues early.
2. Verify Proper Installation
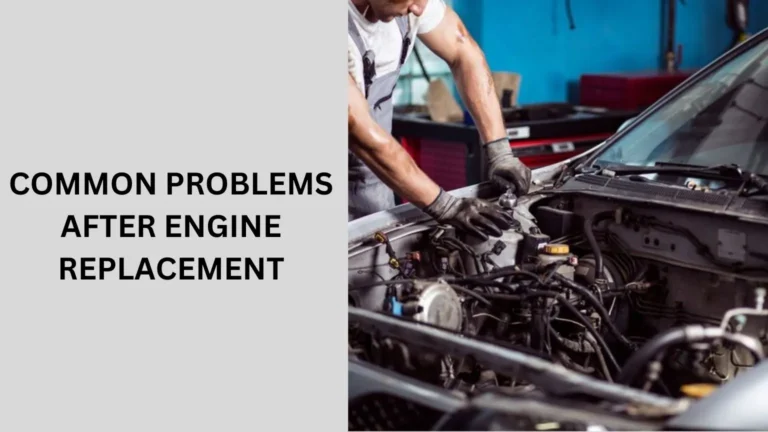
Ensure the new crankshaft sensor is installed correctly. Double-check that the sensor is seated properly and that all connectors are securely attached.
An improperly installed sensor can lead to issues with engine performance and trigger warning lights.
3. Inspect Wiring and Connectors
Examine the wiring and connectors associated with the crankshaft sensor. Look for any signs of wear, damage, or corrosion.
Faulty wiring or damaged connectors can cause erratic sensor readings and impact engine performance.
Testing and Calibration
4. Perform a Test Drive
Take your vehicle for a test drive to ensure the new crankshaft sensor is working as intended. Pay attention to any unusual sounds, vibrations, or changes in engine performance.
If you notice any issues, it might be worth rechecking the installation or consulting a professional.
5. Check Engine Performance
Monitor your vehicle’s engine performance after the replacement. Ensure smooth acceleration, stable idling, and no issues with starting the engine. A properly functioning crankshaft sensor should enhance overall engine performance and fuel efficiency.
Addressing Common Issues
6. Reset the ECU
In some cases, you might need to reset the ECU after replacing the crankshaft sensor. This step can help clear any residual data and allow the ECU to recalibrate to the new sensor’s readings.
Refer to your vehicle’s manual or consult a professional for specific instructions on resetting the ECU.
7. Look Out for Warning Lights
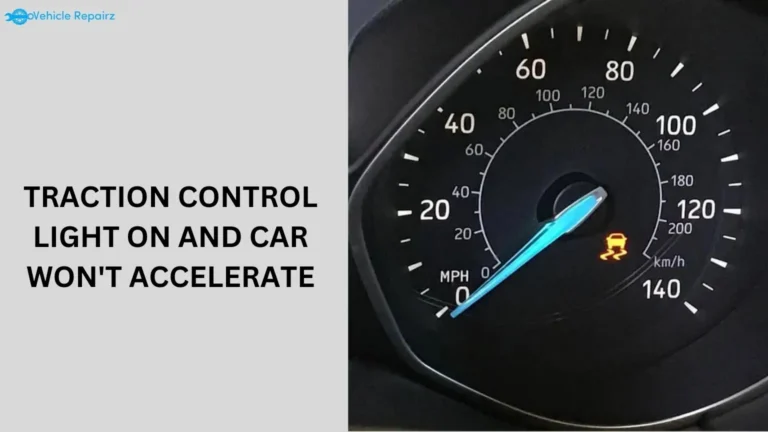
Keep an eye on the dashboard for any warning lights that might appear after the replacement.
If the check engine light remains on or if other warning lights appear, it may indicate an issue with the sensor installation or another related component.
Regular Maintenance
8. Schedule Regular Inspections
After replacing the crankshaft sensor, it’s a good idea to schedule regular inspections to ensure everything is functioning correctly.
Regular maintenance can help prevent future issues and extend the lifespan of your vehicle’s components.
9. Maintain Proper Fluid Levels
Ensure that all engine fluids are at the correct levels. Proper fluid levels contribute to optimal engine performance and can prevent potential issues related to the crankshaft sensor and other engine components.
People also ask
Do you have to program a new crankshaft position sensor?
In most cases, you do not need to program a new crankshaft position sensor. Once installed, the sensor should work with the vehicle’s existing engine control unit (ECU).
However, some vehicles may require a reset of the ECU or relearning procedures to calibrate the new sensor. Always check your vehicle’s service manual for specific requirements.
Why won’t my car start after replacing the crankshaft sensor?
If your car won’t start after replacing the crankshaft sensor, it could be due to several reasons:
Improper Installation: The sensor may not be installed correctly or securely.
Faulty Sensor: The new sensor could be defective.
Wiring Issues: There might be issues with the wiring or connectors related to the sensor.
ECU Problems: The engine control unit (ECU) might need resetting or recalibration.
What to do after changing the crankshaft position sensor?
After changing the crankshaft position sensor, follow these steps:
Check for Error Codes: Use an OBD-II scanner to ensure there are no residual codes.
Verify Installation: Ensure the sensor is installed correctly and securely.
Inspect Wiring: Check for any damaged or loose wiring and connectors.
Perform a Test Drive: Drive the vehicle to confirm smooth operation and proper engine performance.
Monitor Engine Performance: Watch for any warning lights or performance issues.
How to reset the crankshaft position sensor?
To reset the crankshaft position sensor:
Disconnect the Battery: Remove the negative terminal for about 15 minutes to clear the ECU.
Reconnect the Battery: Reattach the negative terminal.
Start the Engine: Allow the engine to idle so the ECU can recalibrate to the new sensor.
Conclusion – What to Do After Replacing Crankshaft Sensor?
In Conclusion, What to Do After Replacing Crankshaft Sensor? Replacing a crankshaft sensor is a significant step in maintaining your vehicle’s engine health.
By following these steps after the replacement, you can ensure that your vehicle operates smoothly and efficiently.
Regular monitoring, proper installation, and timely maintenance are key to keeping your engine in top condition.

